|
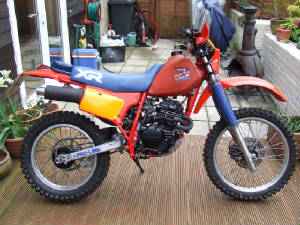
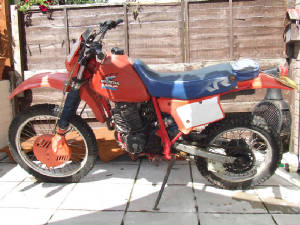
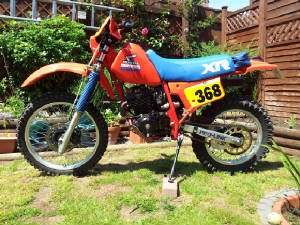
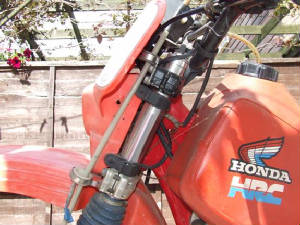
To start, here's the pictures of the XR250 the day I brought her home and a succession of almost
finished to now ones.
Click any of the images below to see them larger and scroll down to see the rough state she was
in.
Some of you XR followers will note that some of the mods I have done (mufflers/swingarm) aren't
in keeping with originality and your right! I just feel I've presented an XR250R from another angle.
On another note, respect and admiration to all those who resore their bikes meticulously down to
the last nut and bolt!
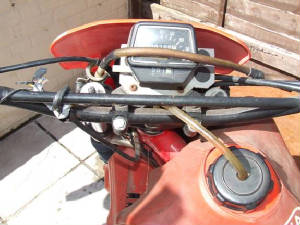
Stay tuned for a completely different look at the front end!
 |
|
|

|

|
|
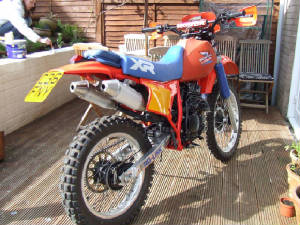
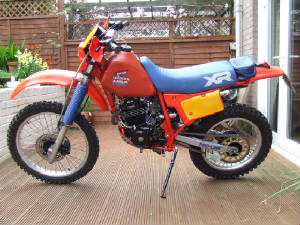
With the dual CRF mufflers!
|
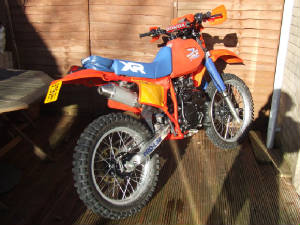
With a single CRF muffler!
|
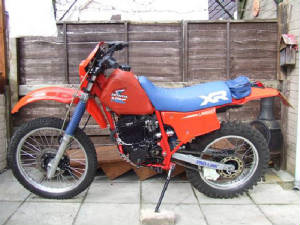
With original muffler!
|
|
|
|
|
|

|
|
|
|
|
My intention from the start was a complete strip down and then rebuild; my finances allowing of course---day
to day living is a bit of a drain on the old wallet!!!!!!
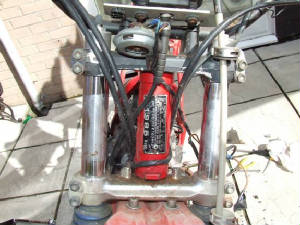
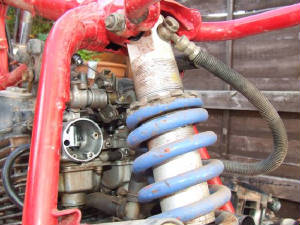
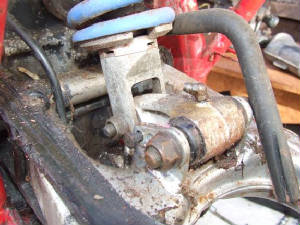
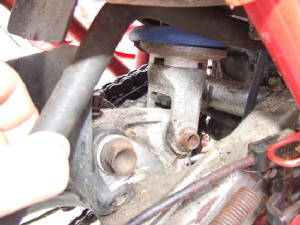
XR250 strip down…….
I started by spraying everything with WD40 as there were probably going to be quite a few hard to undo nuts and bolts.
You'll see more pictures than words next as the old saying goes "a picture is worth a thousand words!"
|
|
|
|
|
|
|
|
|
|
|
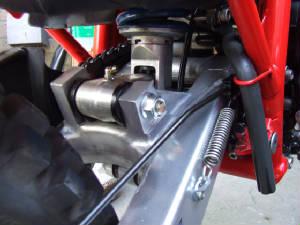
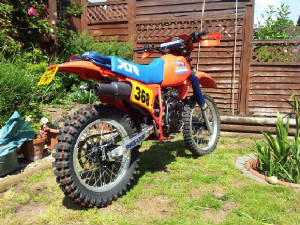
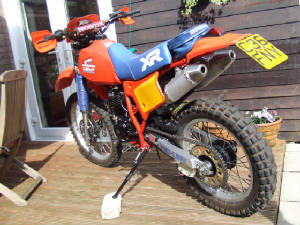
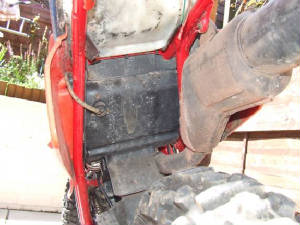
With NOS XR600 swingarm.
|
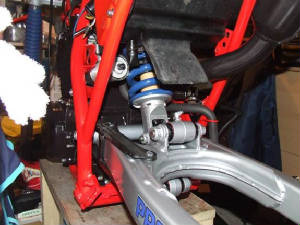
With original swingarm.
|
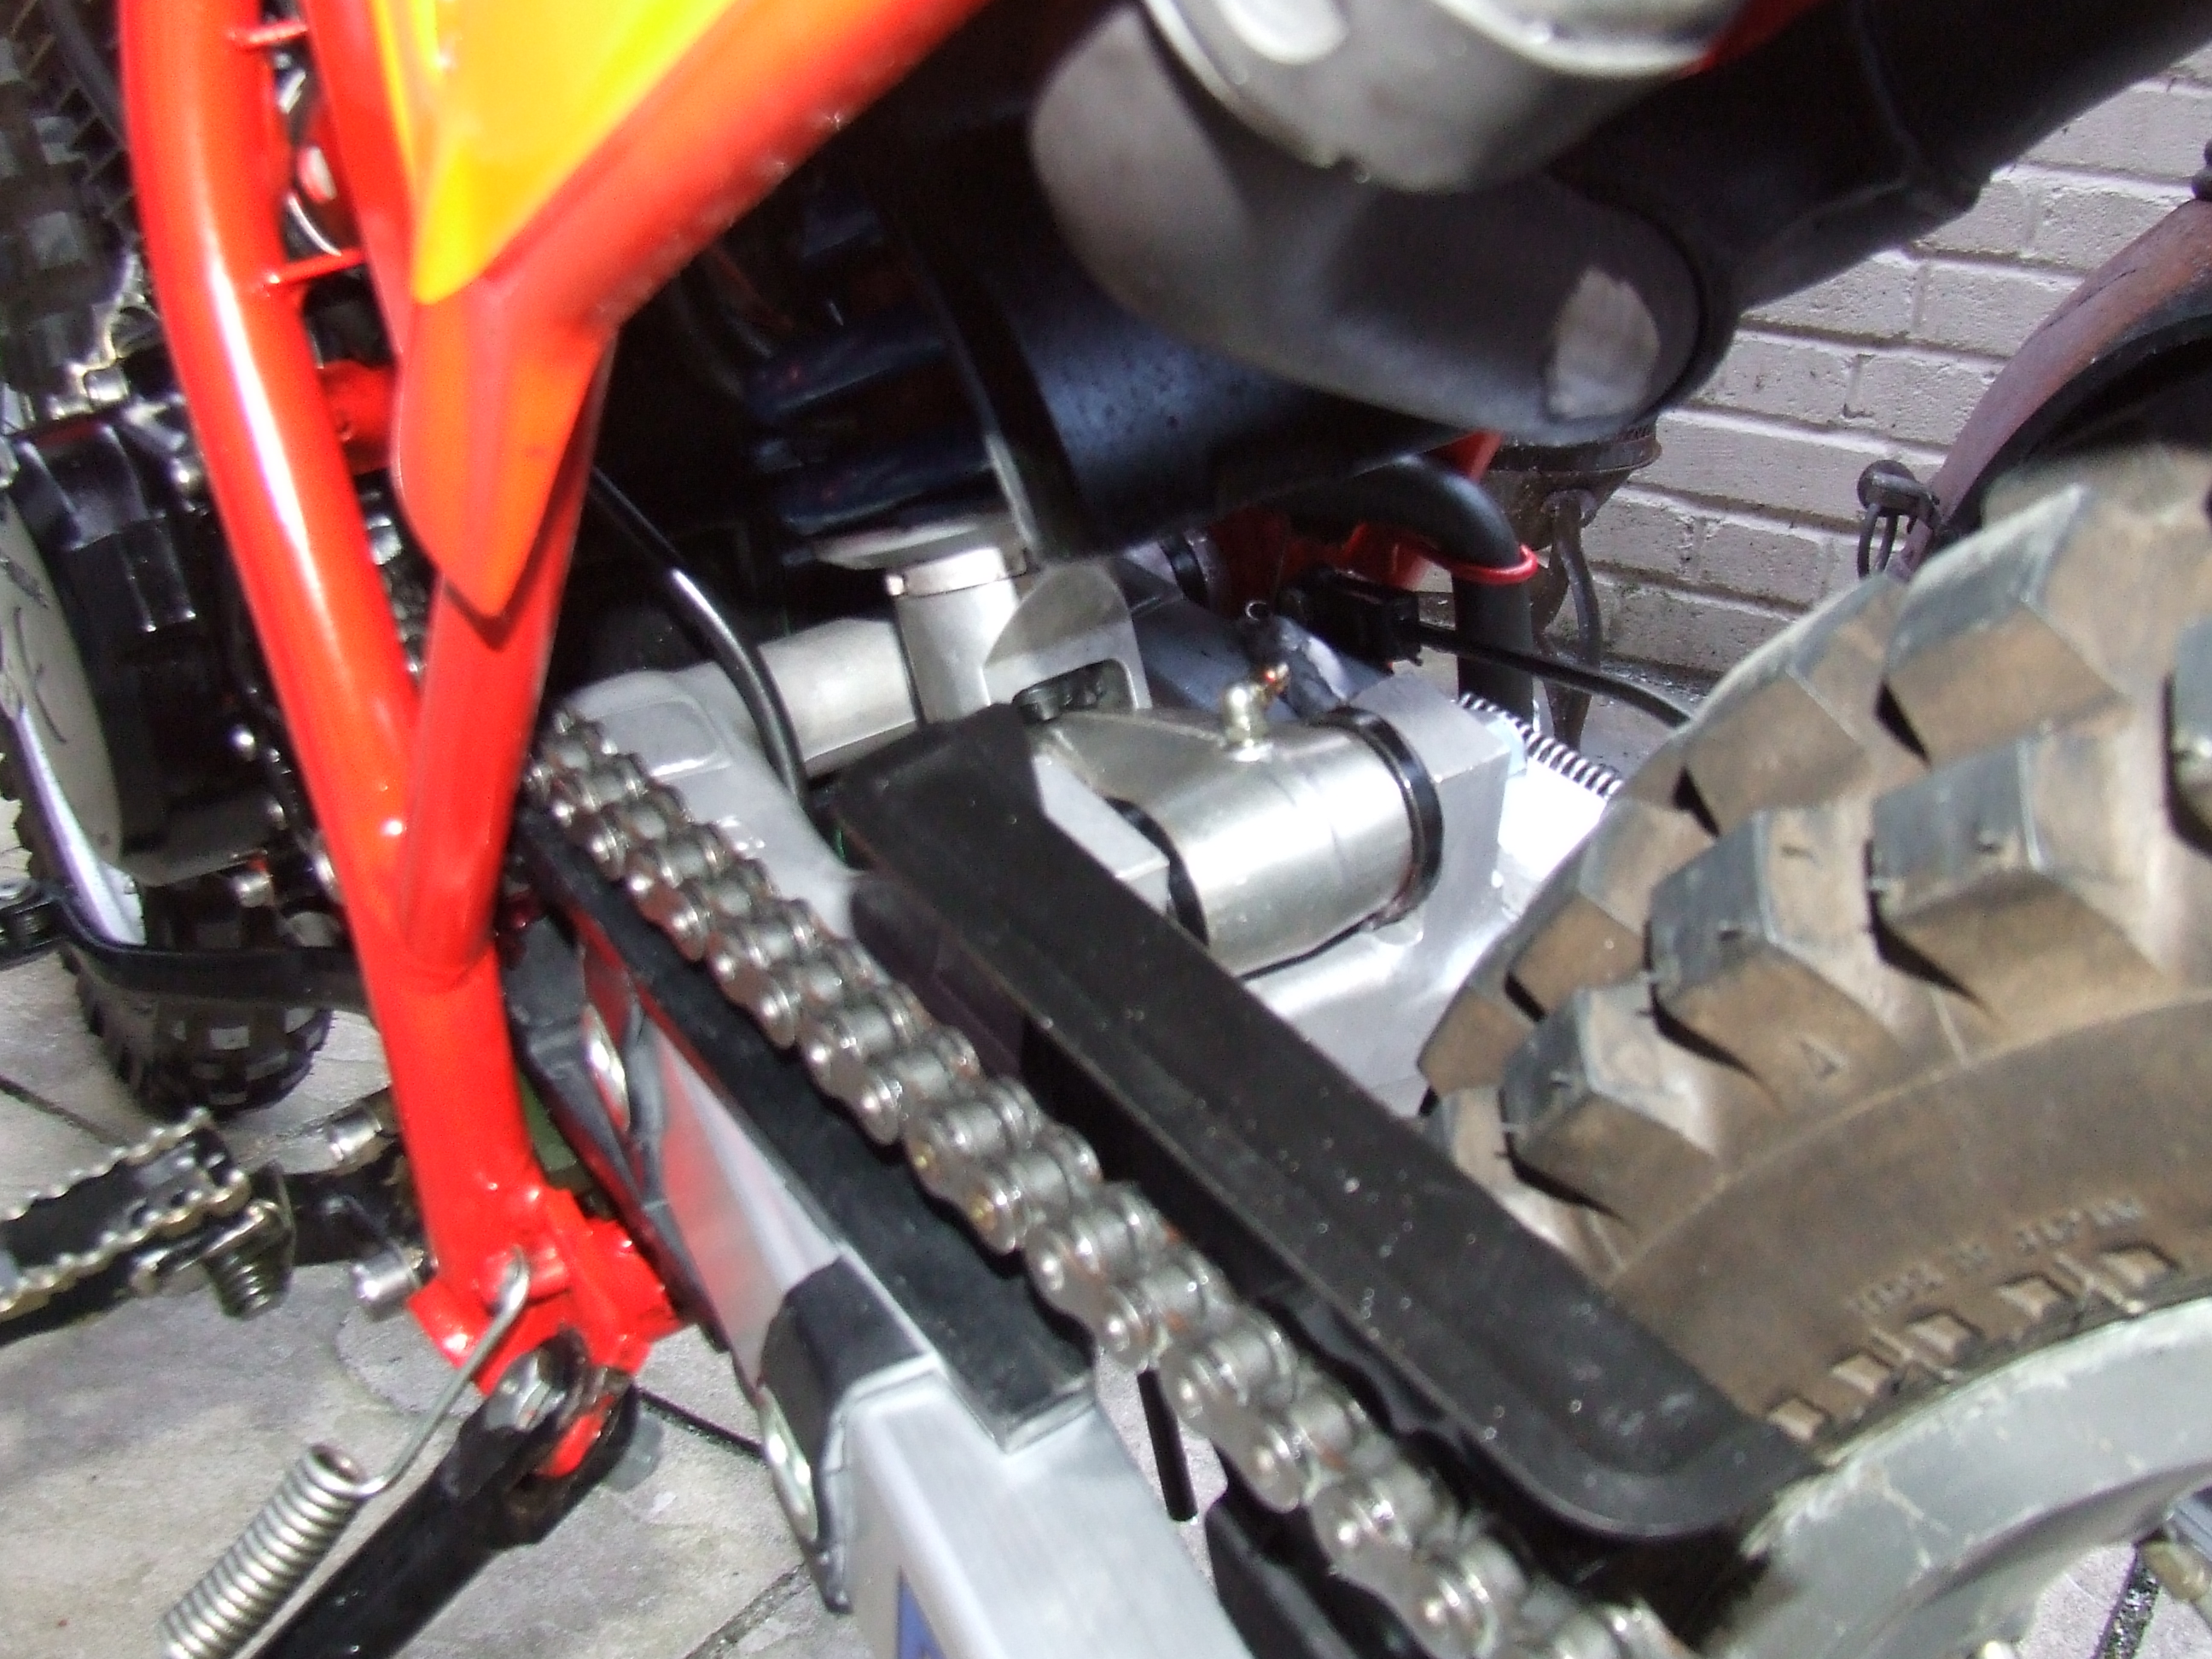
With NOS XR600 swingarm.
|
|
|
|
Thanks for looking.
|


